Hey friends, it's time for a new Lawn Fawnatics Challenge and this one is so much fun! We've got a Bingo board for you to use, which gives you so many possibilities! You can get Bingo by doing a vertical, horizontal, or diagonal line. For my card, I went with a diagonal line, going from the top left to the bottom right, so paper trimmer, critter, birthday, ink blending, and glitter.
For the background, I blended Distress Oxide Inks onto some Bristol Smooth Surface Cardstock using the Birch Tree Stencils to create the look of a jungle or rainforest. In the center I used Twisted Citron and darkened that up at the top and bottom with Mowed Lawn. I trimmed off a little bit with my paper trimmer and glued it to a Noble Fir card base. I popped up my sentiment and images and finished with a little Stardust Stickles. BINGO!
If you'd like to see how this card came together, you can click the video thumbnail below or find the tutorial HERE on my YouTube channel. I really hope you enjoy it! Don't forget to check out the rest of the design team's Bingo board creations on the Lawn Fawnatics Challenge blog and link up your own projects to play along. Thanks so much for stopping by!
Hey friends, today I'm over on the Hello Bluebird blog with a colorful card inspired by some patterned paper. I combined several stamp sets for this one, including Fairy Dance, Fairy Garden, and Strawberry Patch and colored all the images to match with my Copic markers. I'll have more details and links over there, so I hope you'll check out my post! If you'd like to see how the card came together, I have a video tutorial for you, which you can view by clicking below or find HERE on my YouTube channel. I really hope you enjoy it! Have a magical day!
Hey friends, today I've got another Plan a Card with Me video. This time the entire card was inspired by a piece of patterned paper from the Pebbles Cool Girl 6x8 pad. I ended up combining a few different Hello Bluebird stamp sets including Fairy Dance, Fairy Garden, and Strawberry Patch. I take you through my whole thought process, from the initial idea to a fully fleshed out card concept with all the supplies picked out. If that sounds interesting to you, you can check out the video by clicking below or find it HERE on my YouTube channel. I really hope you enjoy it!
Hey friends, today I've got a new Patterned Paper Breakdown video, sharing you four new paper pads for Spring and giving you my tips for mixing and matching different patterns. If that sounds interesting to you, you can check out the video tutorial below or find it HERE on YouTube. Thanks so much for watching!
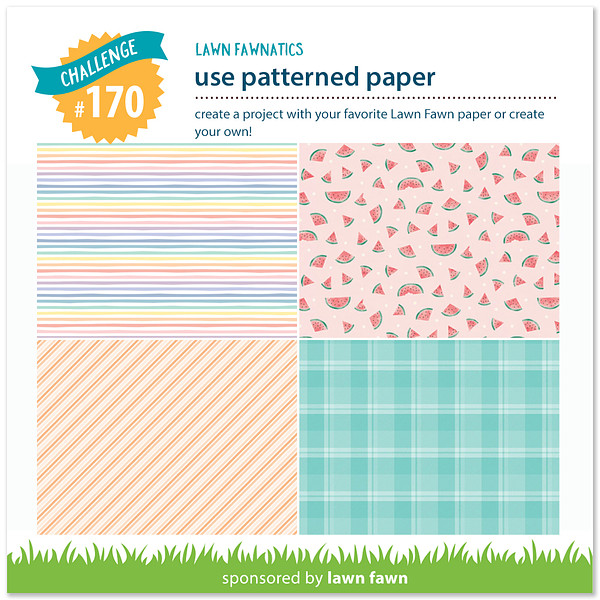
Hey friends, it's time for another Lawn Fawnatics Challenge and this one is right up my alley. It's patterned paper! Yay! You can use any of Lawn Fawn's existing papers or you can create your own. I combined three different patterns from the new Rainbow Ever After 6x6 and used the Winter Birds to make a Spring card by combining it with Toucan Do It and Really High Five. I colored all the images with Copic markers and trimmed them out with the matching dies.
For the focal panel, I cut down a piece of Bristol Cardstock with one of the Outside In Stitched Rectangle Stackables and blended on some Distress Oxide Inks using the Cloudy Stencil. I wanted it to be a sunset sky, so I used Spun Sugar, Shaded Lilac, Tumbled Glass, I did a little splatter detail to look like confetti, and stamped a sentiment down at the bottom in black ink.
If you'd like to see how this card came together, you can click below or find the video tutorial HERE on my YouTube channel. I really hope you enjoy it! Be sure to stop by the Lawn Fawnatics Challenge blog to see what the rest of the team created to inspire you and to link up your own patterned paper projects to play along. We can't wait to see what you make!
Hey friends, today I'm so happy to be featured over on the Hello Bluebird blog with a sweet Easter bunnies in training card! I just love these cuties from our Little Painters stamp set. I'll have all other supplies and details in my post over there, so I hope you'll check it out. If you'd like to see how the card came together, you can click on the video tutorial below, or find it HERE on my YouTube channel. Thanks so much for watching! Happy Easter!
Hey friends, today I'm back with a card for a super exciting occasion! I just became an auntie again! I have a brand-new baby niece who is just as sweet as can be, and deserved the sweetest card to welcome her into our family. I pulled together images from Hello Bluebird's Little Star and Sweet Dreams, with accents from Word Buddies Jungle and Balloon Buddies. I colored them with Copic markers and trimmed them out with the matching dies.
I really hope you guys enjoy this one, and that my brother and sister-in-law will too! If you want to see how it came together, click below or watch HERE on YouTube. Thanks so much for watching! Have a great day!